Step 1 Download and Install Adobe Creative Cloud through here
Step 2 Install Adobe Creative Cloud
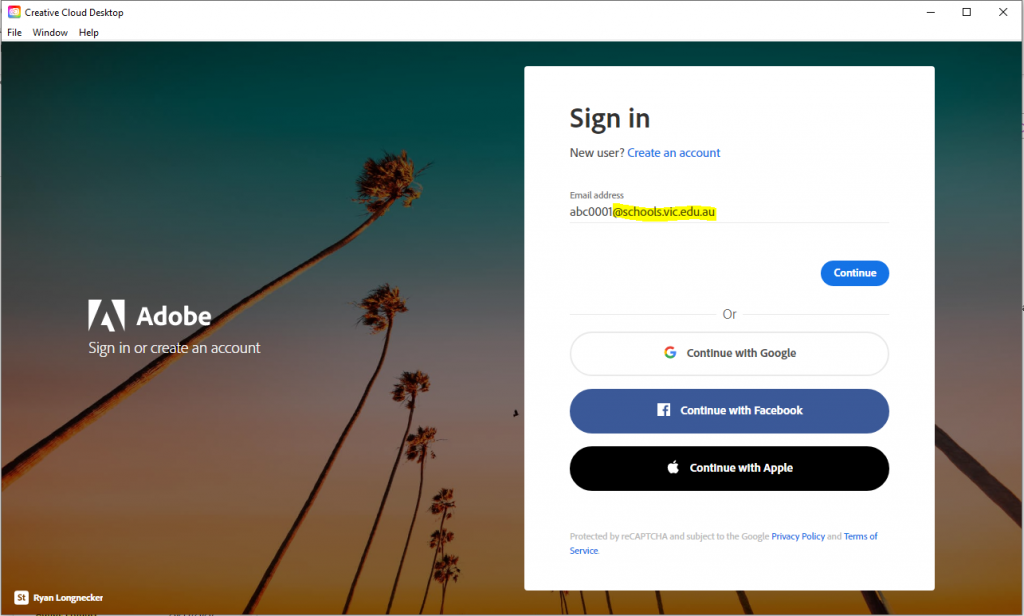
(Note: Please make sure you are login as @schools.vic.edu.au) login details has been sent though your email with the title “Adobe Products”
Step 4 Once installed, select the Adobe product you wish to use.

Troubleshooting
- Windows
- Sign out of the Adobe Creative Cloud Desktop App.
- Browse to the following folder C:\Program Files (x86)\Common Files\Adobe\OOBE\Configs
- Delete the ServiceConfig.xml file.
- Restart the computer
- Open the Adobe Creative Cloud Desktop App and sign in.
- The apps should now show when clicking Apps from the top menu.
- Mac
- Sign out of the Adobe Creative Cloud Desktop App.
- Click Go from the menu at the top of the screen.
- From the list, choose Go to folder.
- Copy and paste /Library/Application Support/Adobe/OOBE/Configs into the search box then click Go.
- Click the ServiceConfig.xml file and choose Move to Trash. Restart the computer
- Open the Adobe Creative Cloud Desktop App and sign in. The apps should now show when clicking on Apps from the top menu.